Person pours fresh coffee from a percolator into a lightweight mug at a campsite

How to Brew Percolator Coffee

Name a better way to start your day than enjoying a nice, warm beverage—we’ll wait. There’s just something comforting about wrapping your hands around a hot cup of coffee, feeling the morning sun on your face, and hearing the birds chirp around you. Those first sips? They just hit differently.

Mother and child enjoying fresh percolator coffee and breakfast together at a campsite while the father's hand pours coffee into a mug

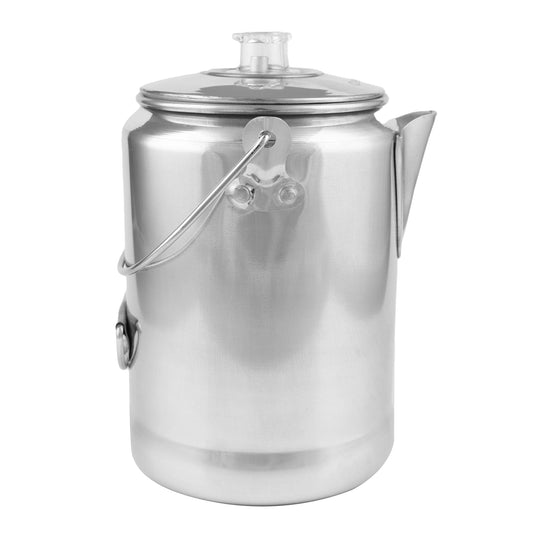
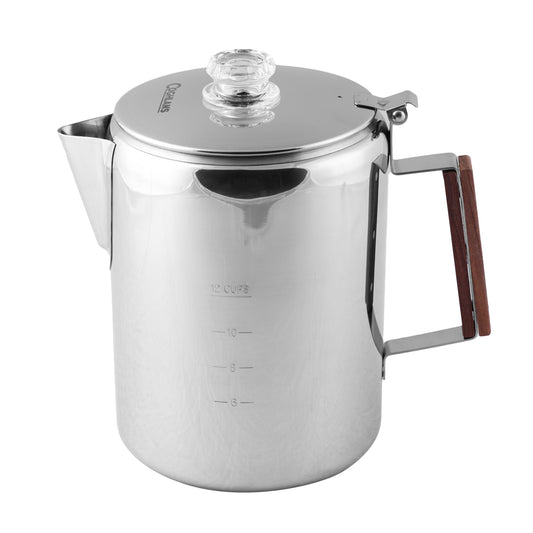
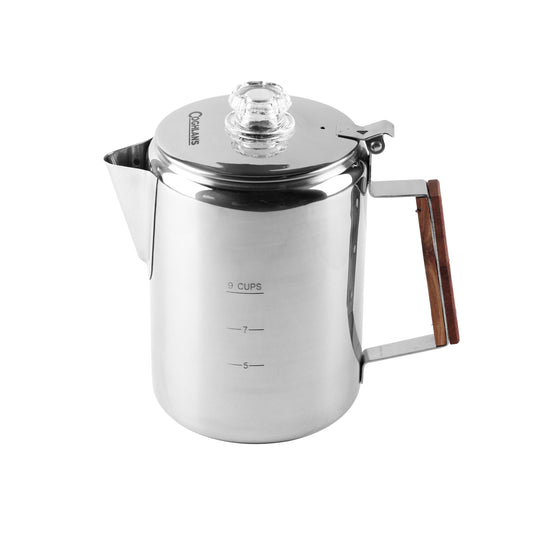
Whether you've just picked up your own Coghlan's Coffee Pot or are wondering how it works before buying, we're here to help you channel your inner barista. If you’re the first one awake and you’re ready to seize the day, here’s our guide to brewing the perfect cup of camp coffee using a percolator-style coffee pot.

A camp mug, percolator coffee pot, coffee grounds and a coffee grinder on top of a picnic bench at a campsite

Grind Type: Medium-Coarse

Before we get into the step-by-step instructions, it's important to mention that brewing with a percolator requires medium-coarse ground coffee. This keeps the grinds where they are intended: in the grounds basket. If you use too fine of a grind, you will find that the bottom of the coffee pot will end up with a pile of sludgy grinds and an over-extracted bean, meaning your coffee will taste bitter.

Quantity of Ground Coffee

You'll also need to be prepared with more grinds than you would for your coffee maker at home. Medium-coarse grind tends to under-extract flavors, making your coffee taste weak. A rule of thumb is to use 1 heaping tablespoon of grinds per cup of water.

Brew Time

With coarse grind coffee, you may encounter under-extracted coffee which makes it taste weak, acidic, or sour. To counteract this, you'll need to extend the brew time. Allowing the coffee to brew (but not boil) for around ten minutes yields tasty, full-bodied coffee.

Close up image of someone pouring coffee grounds into a percolator style coffee pot

Instructions

1. Remove the percolator system (the grounds basket and lid, and the stem) and pour cold water into your coffee pot. Note: Do not fill past the 'max fill line' etched on the coffee pot.

2. Place the percolator system back into the pot, remove the grounds basket lid, and add your medium-coarse coffee grinds into the basket carefully. Place the lid back on the ground basket and ensure it has been properly reassembled.

3. Close the coffee pot lid and place it on your camp stove. under medium-high heat. Once you notice the coffee erupting through the clear lens in the lid, turn the heat down. It's important not to boil the coffee; otherwise, it will taste bitter. Note: It is important to control the heat. Too vigorous of a boil will send your coffee grinds sputtering throughout your coffee pot and make for an unenjoyable drinking experience.

4. Time the brewing process. From the first eruption, you'll want to allow the coffee to percolate on low heat for 7-10 minutes. A longer brewing process makes stronger coffee – but don't overdo it – more than 10 minutes will make your coffee bitter. Some experimentation may be needed to find your perfect taste.

5. Remove the coffee pot from the heat and let it sit for 5 minutes. This will allow any grounds that slipped into the pot to settle at the bottom. Remove the percolator and enjoy!

The percolator has been a go-to for coffee enthusiasts for generations. It’s reliable, durable, and perfect for brewing coffee for a crowd—whether you’re gathering around a morning campfire or firing up the camp stove. And while this method does take a little more effort, the payoff, a rich full bodied cup of coffee, is well worth it. If you’re looking for a dependable coffee pot, the percolator is built for the rugged outdoors and mornings that start with adventure.

A woman leaning on the hitch of her car enjoying a cup of coffee at a campsite in the early morning