A broken tent pole doesn’t mean you have to rush out and buy a whole new tent. With the right tools and a little know-how, you can easily repair the damage and get your tent back in working order. In this step-by-step guide, we’ll show you how to fix your fiberglass tent poles using Coghlan's Fiberglass Tent Pole Repair Kit, saving you money and extending the life of your gear so you can continue enjoying the great outdoors without any interruptions.
Step 1 - Identify the Tent Pole Section to Replace
A tent pole consists of several individual sections that are connected by shock cords and metal connector pieces called "ferrules." When using Coghlan's Tent Pole Repair Kit, you'll find two types of replacement sections: one designed for the end of the tent pole and three meant for the middle sections. Before beginning the repair, ensure you're using the correct replacement section for each part and that you reassemble the sections in the same order they were originally.

Step 2a - Repairing End Sections
The end section of the tent pole typically does not have a metal ferrule attached. Instead, it will have either a rubber tip or a different type of hardware used to connect it to the tent.
When replacing an end piece, you will need to use the replacement pole included in the kit that doesn't have a metal ferrule attached.

Step 2b - Repairing Middle Sections
Middle sections are the parts of the tent pole that are located between the two ends. These sections connect to each other using metal ferrules.
In the Coghlan's Fiberglass Tent Pole Repair Kit, you'll find three middle sections, each with a ferrule already attached to one end for easy assembly. Use these for repairing middle sections.

Step 3: Isolating the Broken Pole Section
Now that you have the correct replacement section selected from the kit, it's time to remove the broken section from your pole. You'll need to start by untying one end of the shock cord and sliding tent pole sections off until you can remove the broken section and replace it. To make this step easier, keep as many of the undamaged tent pole sections threaded on the shock cord as possible.


Step 4: Measure and Cut to Size
The lengths of the replacement sections in our kit may not match the size of the section you want to replace. It's important to match the length of the replacement section, so be sure to measure it correctly and cut it to size.
We recommend that you cover the area you need to cut with tape to prevent fiberglass from fraying when cutting the section. Using a sharpie, mark the line where you will need to cut.


Step 5: Sand the Cut Edge
Fiberglass can be difficult to cut cleanly. We recommend that you use sandpaper to smooth the cut edge and make a smooth edge before continuing to connect it to the rest of the pole sections.

Step 6: Reattach the Tent Pole Sections
It's time to reassemble the tent pole sections. If your shock cord is still in great shape and doesn't show signs of wear, you can use the existing cord. Thread the existing shock cord through the replacement tent pole section and any other sections that were removed to access the broken section. Once all the pieces are in place, tie a secure knot in the shock cord that is large enough to prevent tent pole sections from sliding off.
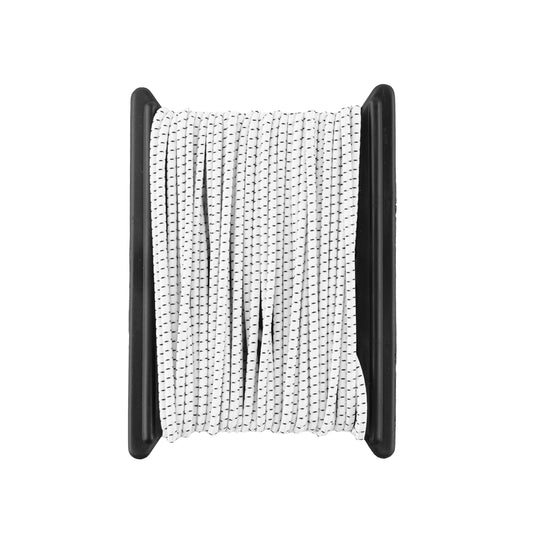
If your shock cord shows signs of wear, such as losing its elasticity, it's likely time to replace it. To learn how to replace your shock cord using the provided shock cord in the kit, check out our gear guide, 'Replacing Tent Pole Shock Cord.'

Step 7 - Select and Use the Appropriate End Cap (Plastic or Metal)
If you are replacing an end section of the tent pole or need to replace the hardware at the end of pole, our kit includes various hardware pieces to suit your needs. Find the one that matches your original hardware closest and attach it to the end of the tent pole.


