Woman in a sherpa sweater walking towards a pitched tent with a mid-size red hard-shell cooler

Comment remplir votre glacière : comme un pro

Quel est le point commun entre des boîtes d'œufs détrempées et des boissons tièdes ? Elles sont toutes deux le résultat de glacières mal remplies et peuvent gâcher l'ambiance du camping. Soyons honnêtes, personne n'a jamais ouvert une bière chaude au coin du feu en se disant : « C'est exactement ce que je voulais. » Préparer une glacière est à la fois une science et un art : il faut garder ses aliments au frais, ses boissons encore plus fraîches, et éviter les en-cas écrasés. Que ce soit pour une petite escapade d'une nuit ou une semaine en forêt, ce guide fera de vous un guerrier des longs week-ends, capable de profiter pleinement des bons moments et de savourer des boissons.

A young man and woman at a campground opening a grey soft-shell cooler to put a water bottle inside

Cooler Anatomy 101:

Repeat after me: planning your meals helps avoid cooler chaos later. To keep your frozen foods, drinks, and snacks in prime condition, try organizing your cooler by layers:

Bottom Layer : Start with ice packs and heavier frozen foods. By doing this, you’re creating a chilly foundation that will do a lot of the work to keep your cooler contents cold. To save yourself the headache, you can also ask yourself when you plan to eat certain foods to determine what should be frozen and stored towards the bottom. This way you don’t have to go digging through ice-packs and ruining your packing arrangement every time someone wants a snack.

Tip: Not every food item has to go in your cooler, any non-perishables can skip the cooler and be packed in another bag.

Zoomed view of a woman's hands placing a yellow plastic egg holder into a white hard-shell cooler with interior shelf.

Middle Layer: This space is for fridge-cold items like drinks, raw meat, dairy, or your eggs—obviously in a sturdy Coghlan’s Egg Holder, no question. Anything packed in containers, or your Coghlan’s Squeeze Tubes lives here too. Essentially any foods that can support having a couple things stacked on top of them. The key to this layer? Avoid putting room-temperature food straight into the cooler, it forces your ice to work overtime cooling things down instead of keeping things cold.

Tip: If you pack raw meat, double up the protective layer with extra bags or a leak-proof container to prevent juices leaking out. A punctured store package of steaks, or even worse – chicken, can cross contaminate your entire cooler and ruin your trip.

Top Layer: Save this space for delicate items like fruits, veggies, or s’mores essentials that we know you’ll be grabbing every night (and no one wants squishy, melted chocolate). Smaller snacks and anything you’ll be eating early on or eating frequently should go here too.

Ice Packs vs. Ice

If the idea of draining soggy waterlogged coolers (aka “hotdog soup”) is unappealing to you as it is to us, ice packs are your best friend. Flex-packs that allow yu to bend and hold the ice to fill smaller spaces are great to use towards the top of your cooler to reduce dead air, while larger hard-sided packs work well as part of your cooling foundation.

Buying a bag of ice? Try to grab one from the back of the freezer where it’s frozen into larger blocks – it will last longer. You can also DIY your own ice packs at home by freezing water bottles or Ziploc bags filled with water to make ice blocks.

A general rule is to aim for .75 lbs. of ice for every quart of your cooler, or essentially a 2:1 ratio of ice to food. If your cooler is 1/3 food and drinks, the other 2/3 should be ice.

Zoomed view of a man legs bent to reach into a red hard-shell cooler and grab a canned drink surrounded by ice.

Tips to Keep Your Cool:

Pre-chill your Cooler: Has your cooler been sitting up in your attic? Or in a hot garage? To maximize a cooler’s ability, we recommend tossing some ice packs in your cooler a couple hours before packing it to pre-chill it – this makes all the difference. This way when you go to pack it, the ice and frozen food that’s meant to keep the rest of the food cool isn’t immediately used towards an initial cool-down of the cooler.

Avoid “Dead Air”: Those nooks, crannies and empty spaces in your cooler? They’re actually causing your food and ice to melt faster. Now is not the time to pack light. The key is to make sure that these are filled in as much as possible, dumping a bag of ice to fill this space works for the short term, but for those longer camping trips we’d opt for re-usable ice packs, drinks and frozen foods. Lastly, be mindful about the size of cooler you need. There’s no sense lugging a 65-quart cooler for a two night trip if you don’t need it.

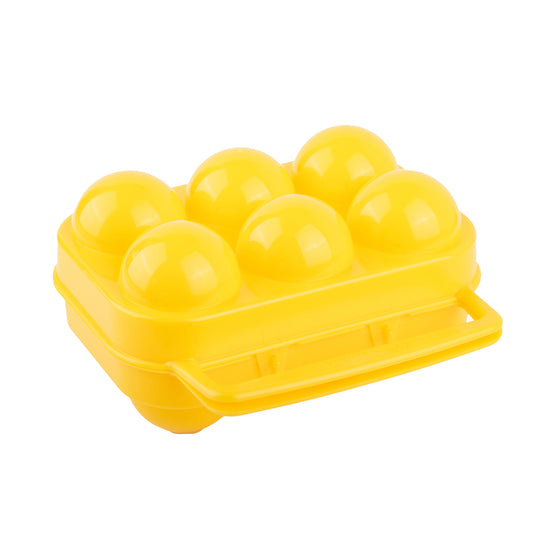
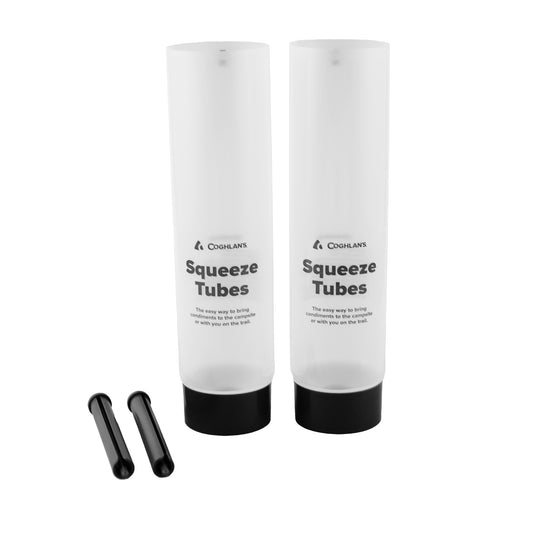
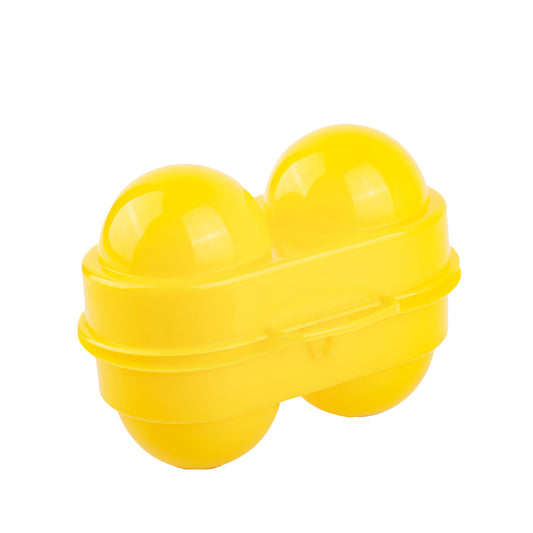
Prep & Transfer: Playing cooler Tetris is much easier when you’re stacking containers of snacks, groceries and ingredients rather than whole bell peppers and cukes. Trust us, you’re underestimating the amount of space that your ice will take up. So, reusable containers are your friend here, but you can’t forget gear like the Coghlan’s Egg Holder and the Squeeze Tubes – the cooler is where they really shine. Consolidating things like condiments and spreads helps you maximize every inch of your cooler, besides, you didn’t need to bring that entire bottle of maple syrup anyway. Taking that extra moment to re-pack and transfer your groceries like this can be the difference between a delicious campsite dinner and an unexpected, early drive home.

Close-up of a hand using the Coghlan's reusable squeeze tubes to dispense ketchup onto a hamburger bun at a campsite.
Zoomed view of a young woman crouched in front of a red hard-shell cooler pulling out a yellow plastic egg holder.

A well-packed cooler can be the unsung hero of your camping trip. Taking a few extra minutes to plan, prep, and pack properly means fewer soggy sandwiches, no crushed snacks, and ice-cold drinks ready when you want them. Plus, it keeps your food safe and helps your ice last longer. So next time you hit the road, pack smart and keep those campsite good times flowing.