Étape 1 – Disposez le mât de la tente et trouvez les embouts
Tout d'abord, posez le mât de votre tente à plat. Ensuite, recherchez les embouts. Il s'agit généralement de petits embouts en plastique ou en métal situés aux extrémités de chaque section du mât. Vous devrez peut-être les dévisser ou les retirer délicatement pour accéder au cordon élastique.
Un mât de tente en fibre de verre avec des embouts en plastique
Un mât de tente en aluminium avec des embouts en métal
Étape 2 – Marquez chaque section du mât de la tente
Avant de retirer l'ancien cordon élastique, munissez-vous d'un marqueur et de ruban adhésif. Numérotez chaque section de poteau dans l'ordre. Croyez-moi, cela facilitera grandement le réenfilage du nouveau cordon par la suite.
Étape 3 – Retirez l’ancien cordon antichoc
Choisissez une extrémité du mât et retirez le capuchon. Dénouez ou coupez le nœud du cordon élastique et commencez à tirer le cordon hors de chaque section du mât de la tente.
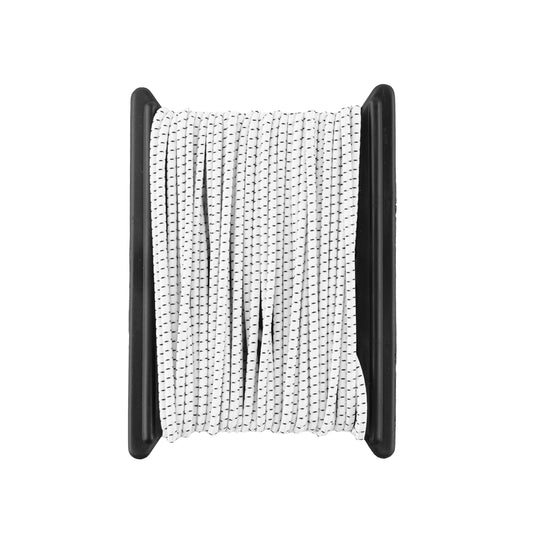
Étape 4 – Mesurez et coupez votre nouveau cordon élastique
Prenez votre nouveau cordon élastique et mesurez-le par rapport à l'ancien. Si l'ancien cordon est complètement tendu
, allez-y et coupez le nouveau cordon d'environ 8 pouces plus court afin d'obtenir la bonne quantité de tension lorsque vous remettez tous les poteaux ensemble.
Étape 5 – Faites un nœud dans le nouveau cordon élastique
Avant d'enfiler le nouveau cordon, faites un nœud à une extrémité. Pour éviter qu'il ne s'effiloche, faites fondre soigneusement
l'extrémité du cordon avec un briquet. Cette petite étape permet de garantir une longue tenue.
Step 6 - Tape the Shock Cord to a Lead-Wire
Grab a piece of tape and attach the unknotted end of your shock cord to the end of a thin lead wire – this will make it easier to feed the shock cord through the tent pole sections. (The wire included in Coghlan's Fibreglass Tent Pole Repair Kit does the trick!)
Étape 6 – Enfilez le nouveau cordon élastique à travers les poteaux
Commencez à introduire le nouveau cordon dans les sections du poteau, en suivant les numéros que vous avez marqués précédemment. Cela permet de garder tout dans le bon ordre et d'éviter toute confusion.
Étape 7 – Serrez le nouveau cordon élastique et fixez-le
Lorsque vous atteignez la dernière section, tirez fermement sur le cordon. Vous pouvez utiliser une pince ou une pince étau pour
maintenez-le en place. Cette étape permet de maintenir la tension idéale pour un mât de tente solide.
Étape 8 – Fixez le nouveau cordon élastique et remplacez les embouts
Faites passer le cordon dans cette dernière section, faites un nœud et retirez la pince de l'étape 7. Ensuite, remettez les embouts en place et c'est terminé ! Votre mât de tente est comme neuf et prêt pour votre prochaine aventure.